This is part 0 in a series on Oracle Spatial Studio. There are a few ways to run Oracle Spatial Studio, this post shows you how to run Oracle Spatial Studio from your PC and from a stack in Oracle Cloud.
Get started with Oracle Spatial Studio - Installation
It has been a while… I have looked into Oracle Spatial Studio and decided to blog about it.
Run it from your PC
Also known as on-prem. You can choose between:
- Deploy it on Oracle WebLogic Server
- Deploy it on Apache Tomcat
- Use Quick Start
I am using the last one; easy to get started and experiment on your own: you simply download a zip-file, unzip it and start it from one script; details to follow. For this to work you need Java JDK 11 or newer.
I usually go to https://otn.oracle.com/ to find what I need. That link now redirects to https://www.oracle.com/downloads/ . Look for Developer Downloads and Developer Tools.
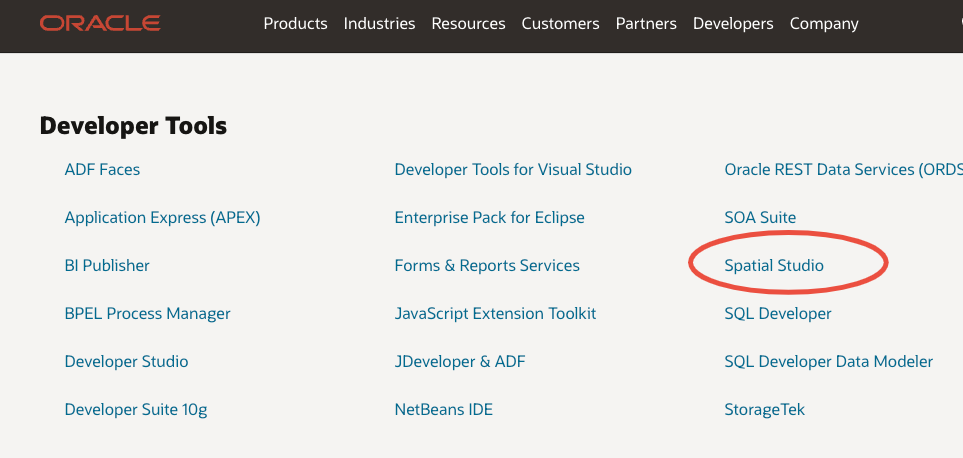
Click on the link for Spatial Studio, and it takes you to this page:
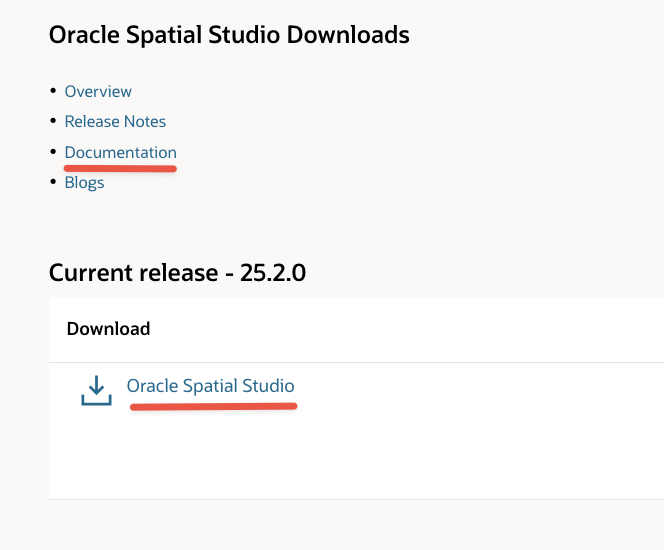
Here you find link to Documentation as well as link to download. You may just as well bookmark the link to the documentation now.
When you click on that link you will be redirected to edelivery.oracle.com and you need to login before you get this page:
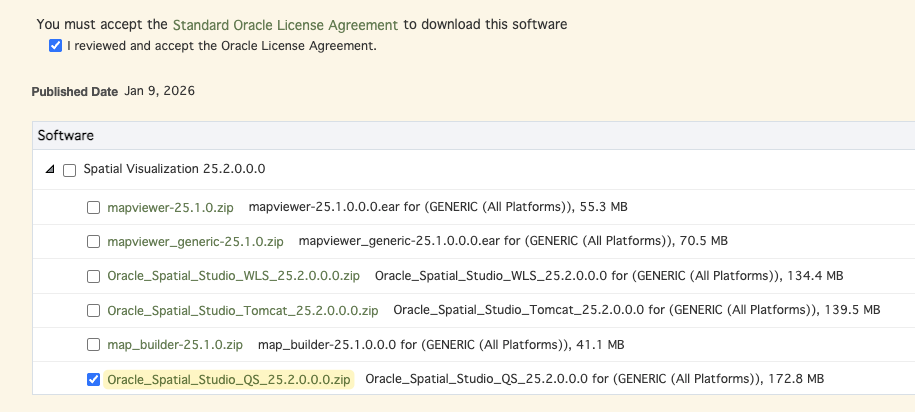
As marked on the screen capture, I am using 25.2.0 Quick Start. You only need this file. Download it by clicking on the file name (not the Download button at the bottom right).
Unzip the file in a place of your choice. You should now have a directory called Oracle_Spatial_Studio. Inside you’ll find start.sh and start.bat for Linux/MacOS and Windows respectively. I’m using a Mac and simply started it with ./start.sh. This will start Spatial Studio and listen with https on port 4040. If that port is taken on your machine you can change it in the file conf/server.properties. For instance to run it on port 81911 you must change the port number on line 6 in the file to:
jetty.ssl.port=8191
This is also where you enable http by setting httpEnabled=true. The installation comes with an unsecure certificate, something your browser will inform you about when you go to the default link https://localhost:4040. Login with username admin and password welcome12:
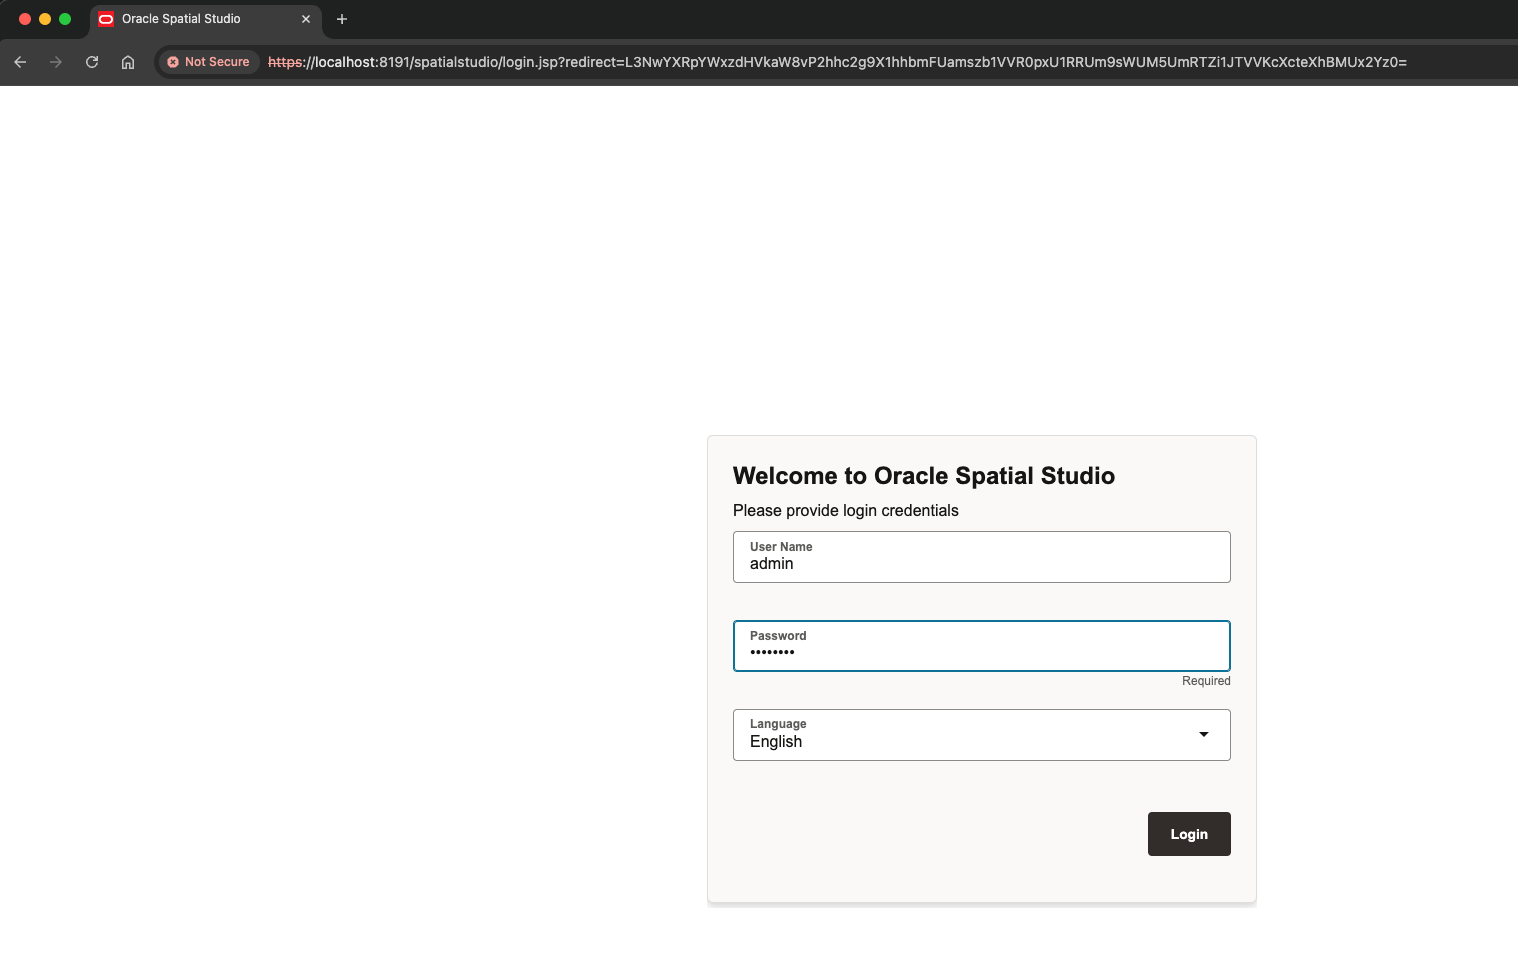
By the way, these steps are documented in 2.2.1 in the manual. After first login you will get this page:
Spatial Studio needs an Oracle database to store the metadata. In this case I am using a local Oracle database, FREE version, running in podman as explained here , but any Oracle database should work (I haven’t tried all the versions). You can also use an Oracle Autonomous Database. Section 2.4 explains how to create the user for the metadata. Here is what I did:
create user SPATIAL_STUDIO identified by "notExactlyThisPassword"
default tablespace users quota unlimited on users;

grant create procedure, create sequence, create session,
    create synonym, create table, create trigger, create type,
    create view to SPATIAL_STUDIO;
On 26ai granting the role db_developer_role also works.
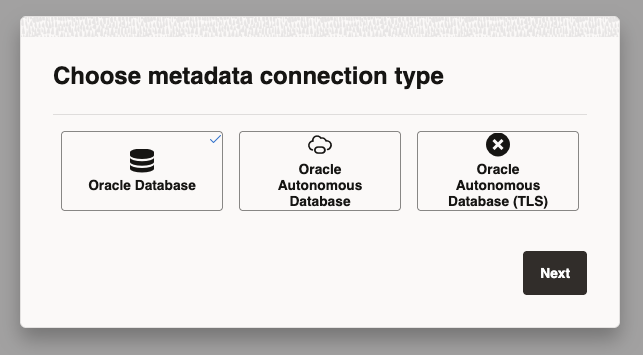
Continue in the browser and add connection info for the this user:
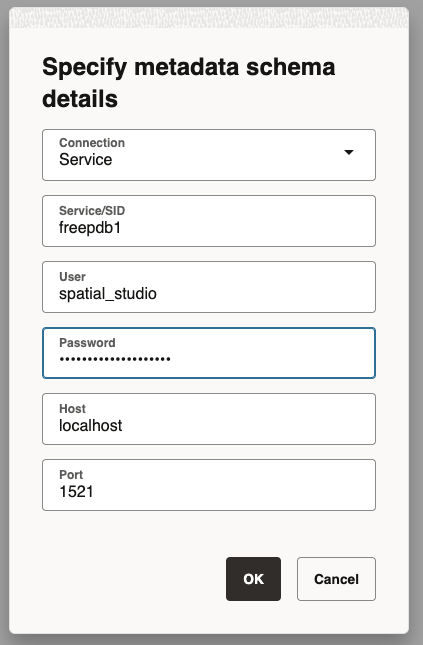
After you hit next it connects and creates the repository and you may see messages like this:
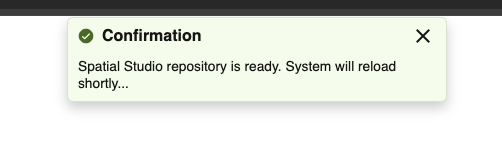
This takes just a few seconds and I hardly managed to capture a screenshot before it disappeared.
The Spatial Studio is now ready to use.
Run Spatial Studio from OCI
If you have an account in the Oracle Cloud, free tier or paid subscription, you may find it easier to just fire up a stack in the marketplace.
After you’ve logged into cloud.oracle.com, click on the hamburger menu in the top-left corner, scroll down, click Marketplace and finally on All Applications as shown here:
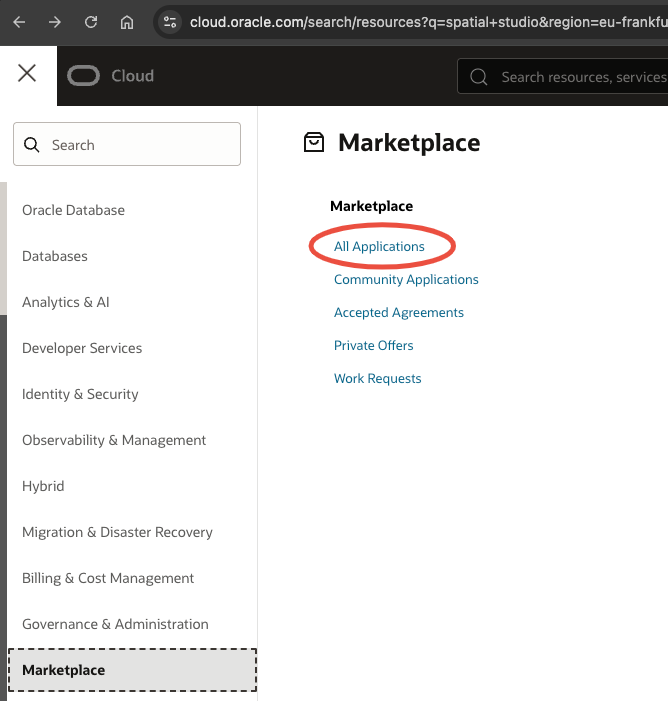
On next page, just search for Spatial Studio, choose the one with shortest title:
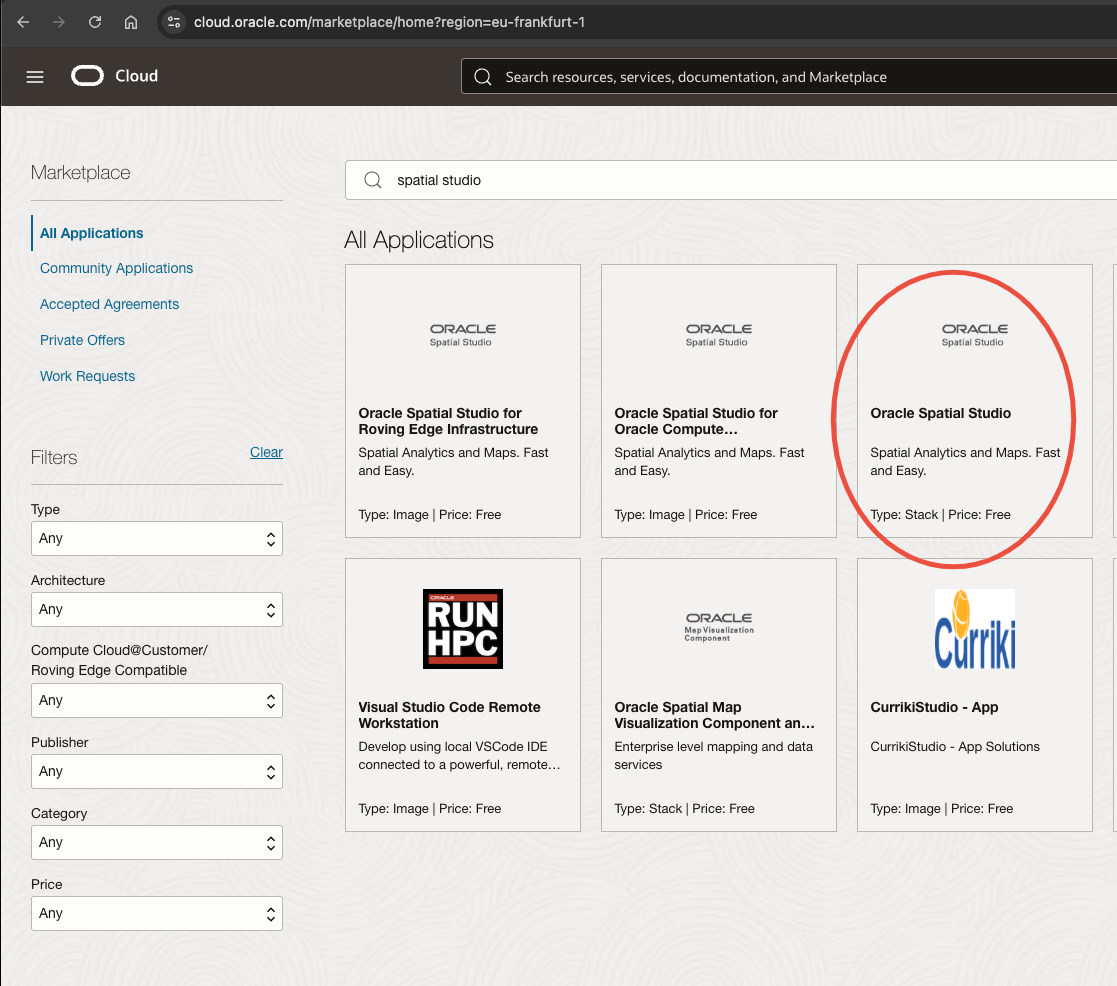
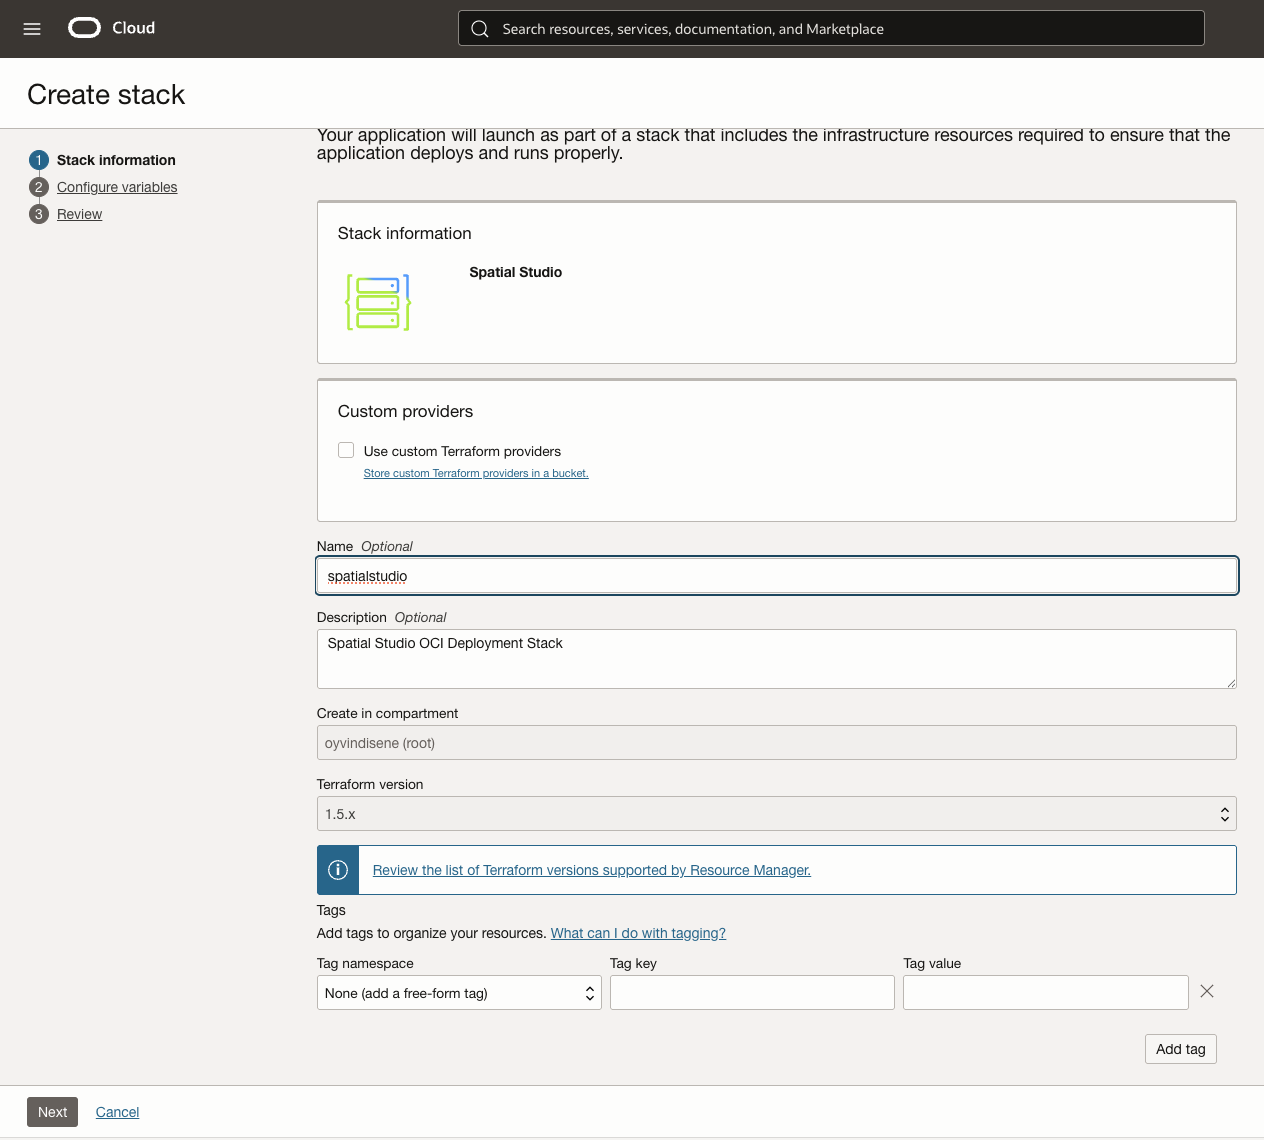
Click the button with Launch Stack on it. On the first page for creating the stack, you may give it a name before you hit Next.
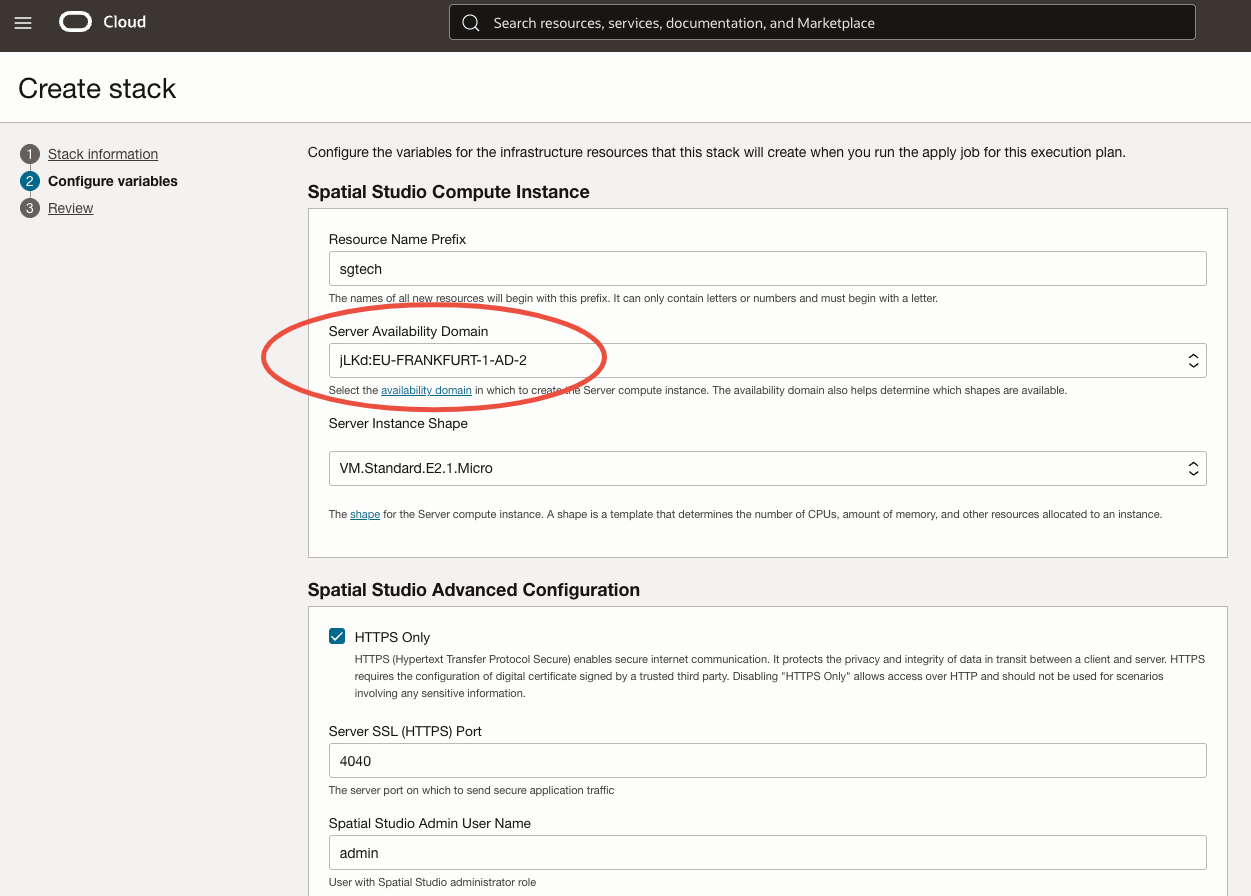
I use the second option on the drop-down list of Server Availability Domain3:
Further down you need to set up networking, it is mostly a sequence of obvious selections from drop-down menus (unless this is the first time you create anything in OCI and need to setup all the networking):
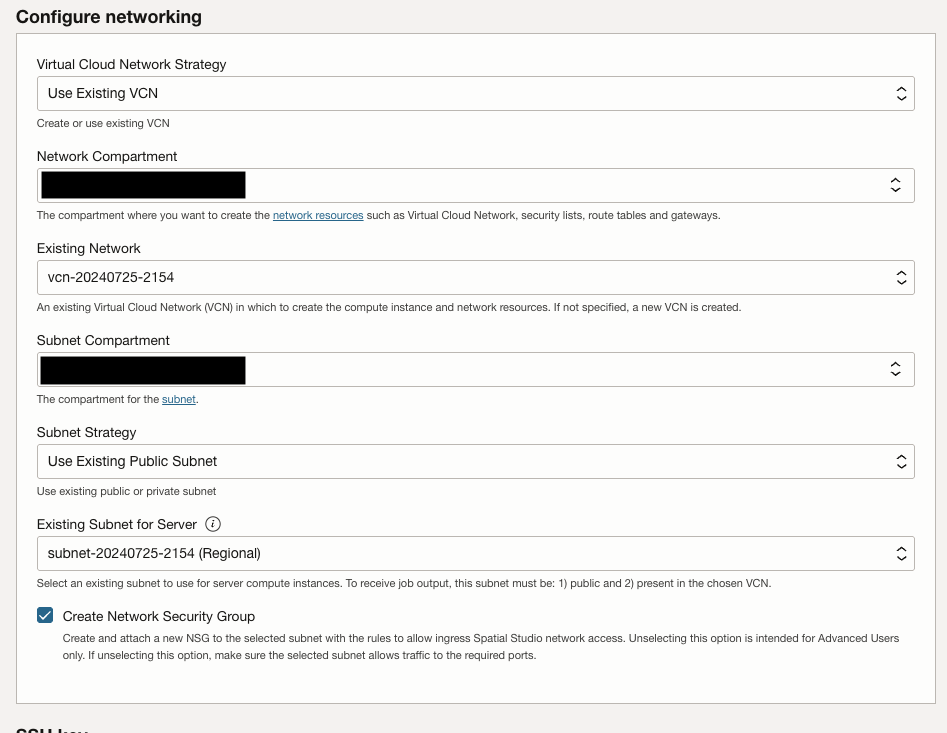
You also need to add your ssh key (not shown here), and setup database configuration for the metadata that Spatial Studio uses:
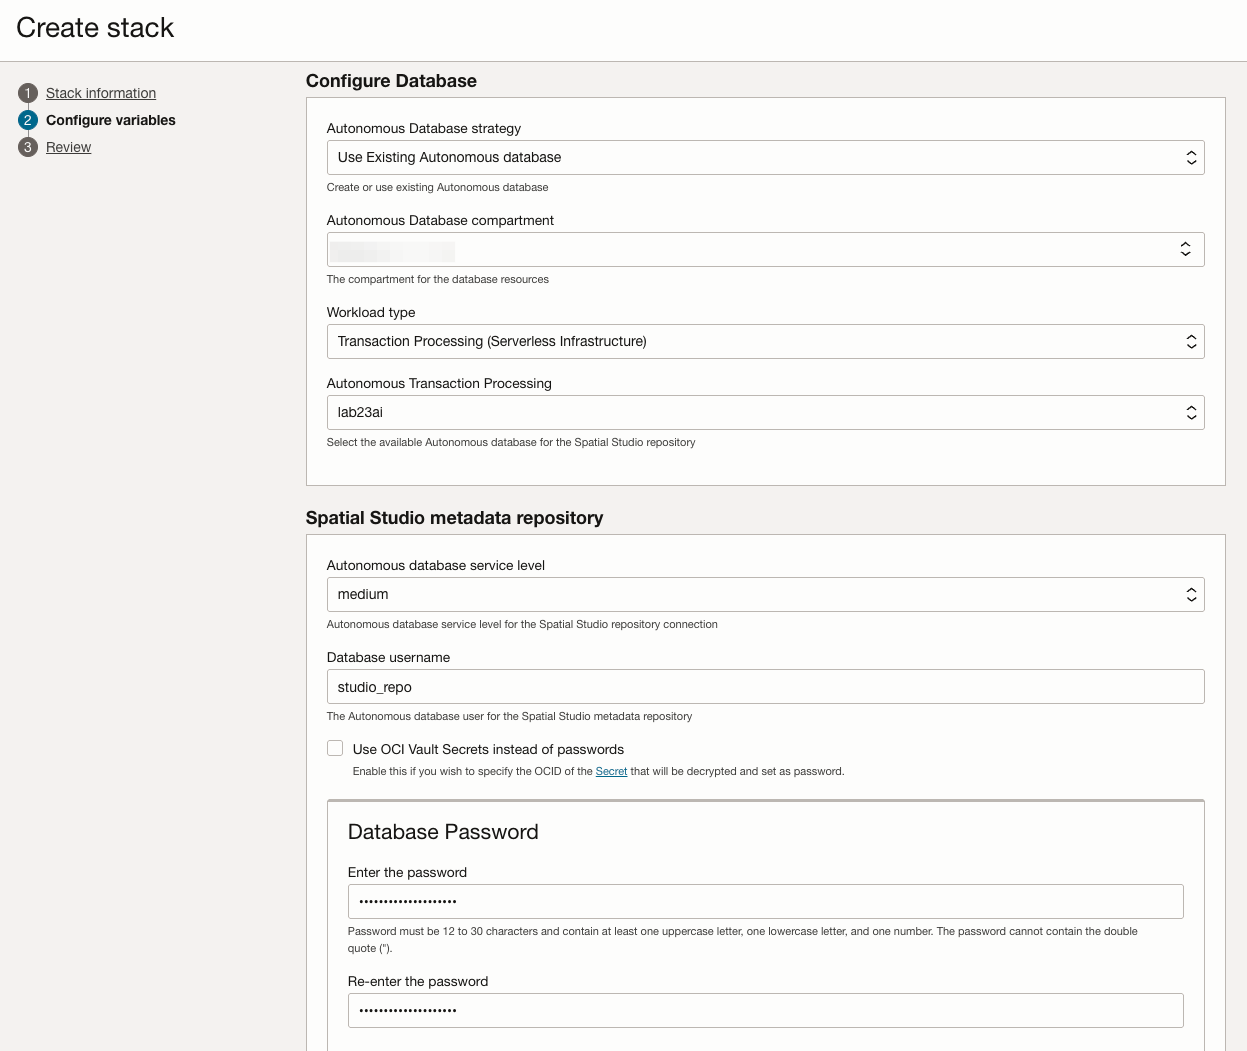
The user must exist in the database you choose. As in previous section it can be created like this:
create user studio_repo identified by "fromYourPasswordManager"
quota unlimited on data;

grant create procedure, create sequence, create session,
    create synonym, create table, create trigger, create type,
    create view to studio_repo;
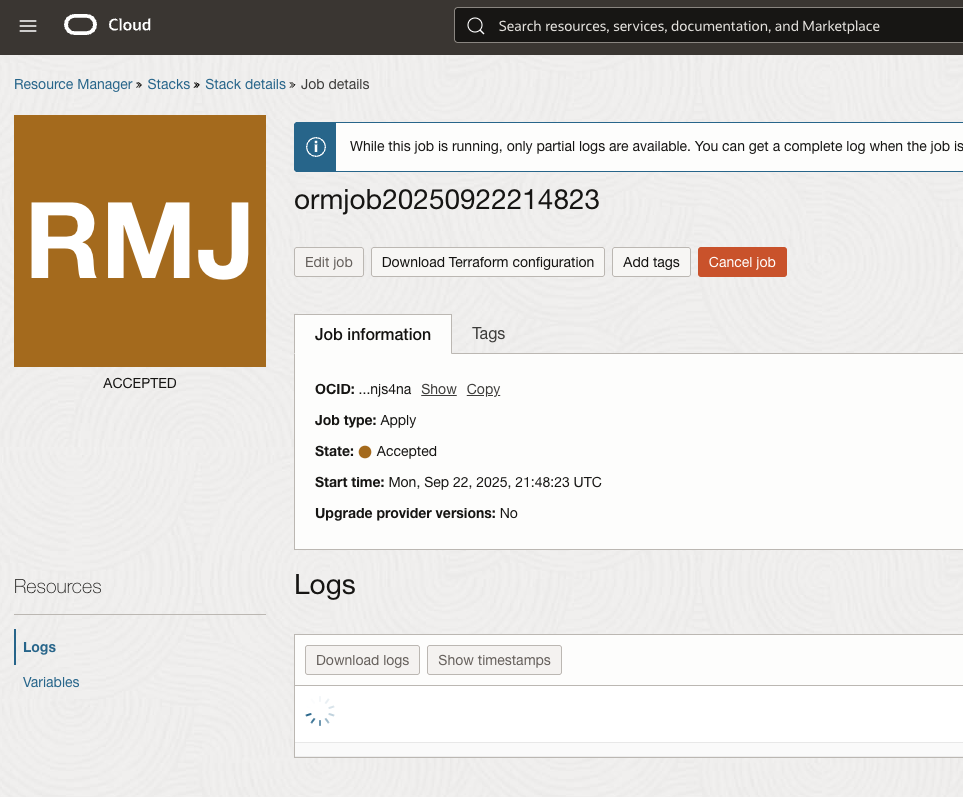
After Next you’ll see a review of the configuration, hit Create at the bottom of the page. It will then take you to the Resource Manager and show you the job that it is running to create the stack.
After a few minutes it should turn green and you can download the Terraform configuration which may become useful later:
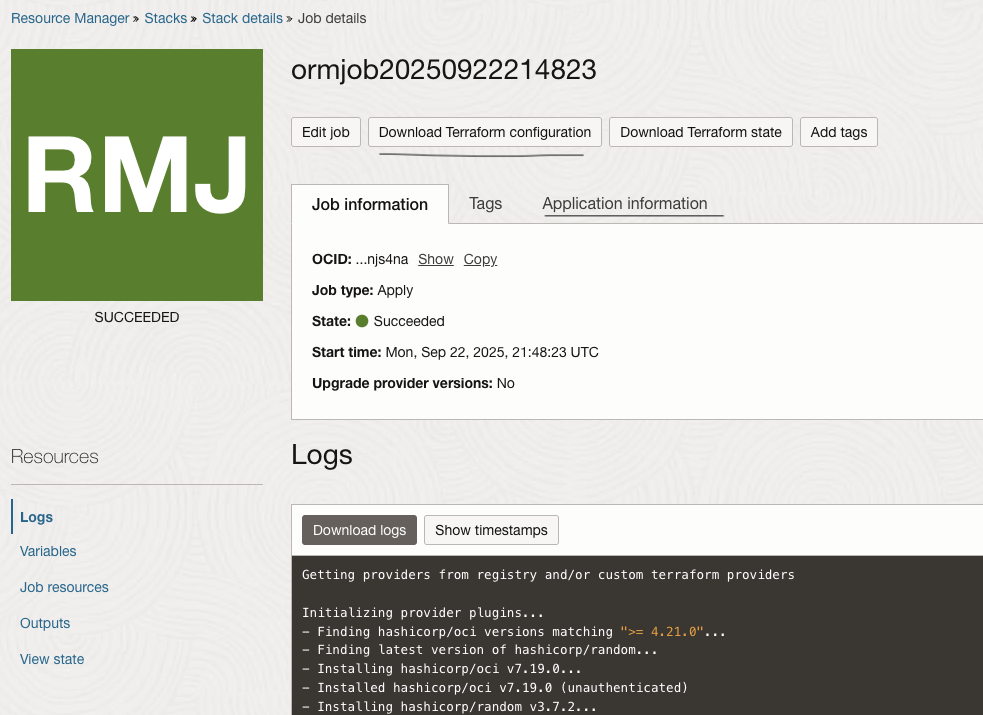
Click on the Application information tab to get the Spatial Studio HTTPS URL. Click on it to start Spatial Studio, you may get a warning regarding an unsecure certificate. Login with the admin user created earlier. Spatial Studio is now ready for your exploration.
-
Not a totally random choice on my side; this is also the fifth Mersenne prime number ↩︎
-
The
README.txtfile included explains how to change the password before you start the server. In order to change the password foradminto say,SpecialSpatial42you run this command:./moduser.sh admin SpecialSpatial42The last line in the output looks like this:admin: CRYPT:ad0LbH3EOmaNk,valid-userCopy the partad0LbH3EOmaNkand replace the equivalent encrypted password in the filejetty-home/security/jetty-realm-mt.properties. After the change the line looks like this:admin: CRYPT:ad0LbH3EOmaNk,valid-user,SGTech_SystemAdmin. As you can see from the file there are three other users with different roles, either as spatial developer or normal user with read-only access. ↩︎ -
The reason being that this domain seems to have more capacity. ↩︎